Lesson 5: Modding the RoomNow that the bed is starting to look a little more like we want it, the walls and floor look rather plain. Select your rug layer. Use the Fuzzy Select Tool and simply click on your rug to select it. Use colorize or bucket fill to adjust the color or pattern as close as you can to the one you want for the rug.
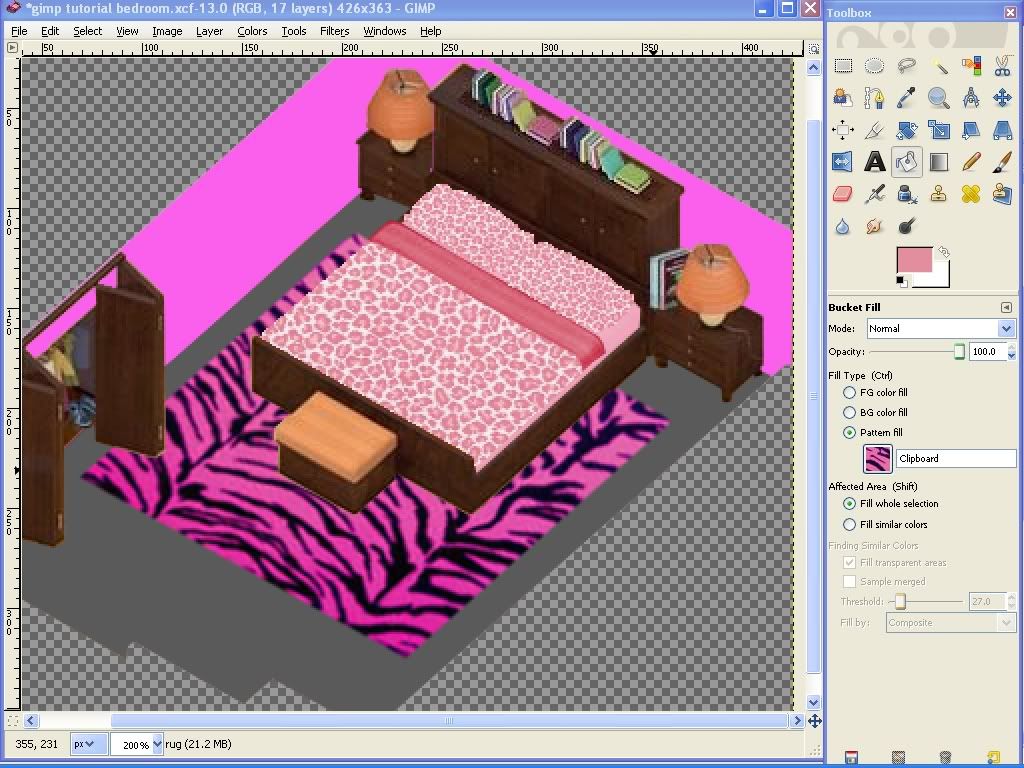
When your rug is the correct color and/or pattern, it's time to make it look like carpet. We will use a default GIMP filter for this. With the rug selected, use Filters -> Artistic -> Clothify. Clothify will give a more plush appearance. If you want a flatter appearing rug, use Canvas to give it a more woven look. Don't be afraid to try these to see which one you like best. You can always use Edit -> Undo to erase it if you don't like it. There are also tons of additional filters available for download to help you achieve the look you want (GIMP can use filters intended for almost any other image editing program.) You can also adjust the depth setting and check the preview to see how that will affect the changes made to the image. Repeat this process for your floor.
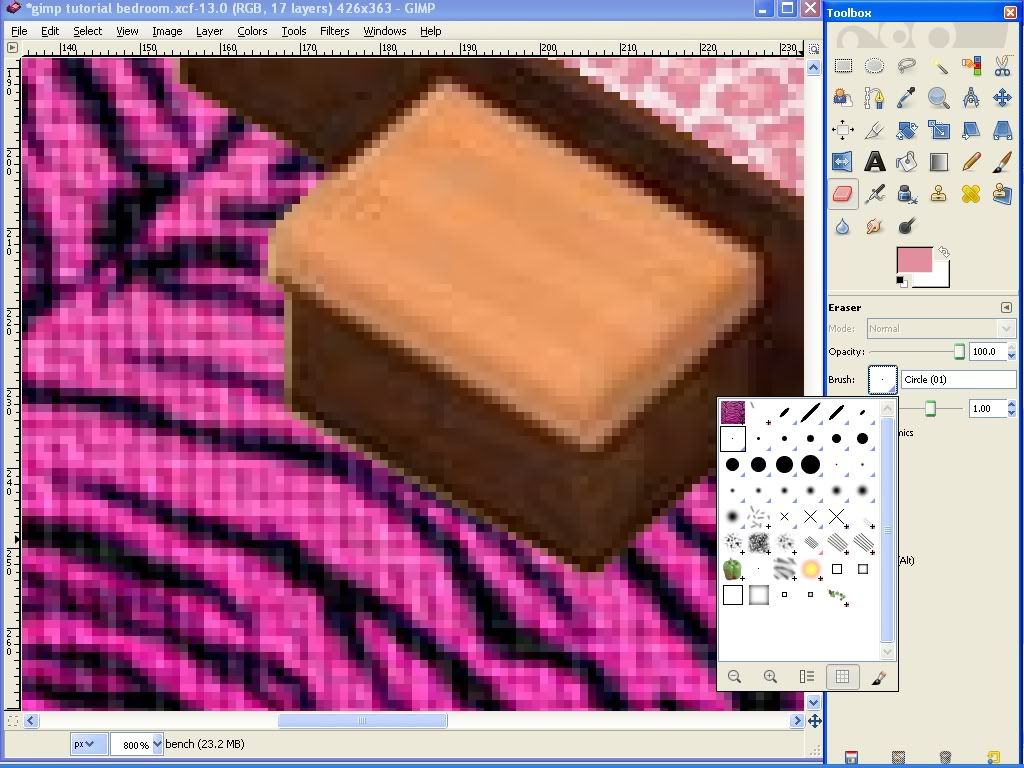
I can see that I didn't select the bed frame and bed bench as carefully as I thought I had. You may have the same problem and are just now seeing it on your new flooring. We can correct those edges easily. I will correct the bed bench first, so I select that layer. Select the layer you need to correct, then zoom in on the problem area. Now I can see that I selected one row of pixels too many. So, I will choose the Eraser Tool from the toolbox and adjust the size of it to one pixel. Click on the problem pixels to remove them. Easy enough. Don't forget to save your work.
Let's fix the problem area on the bed frame. Select that layer and zoom in. This time I will use the Smudge Tool. Choose it in the toolbox and change the size to one pixel (the size of our problem area.) Smudge blends the colors of nearby pixels together, including transparency. Click on the wood of the bed frame and drag that color onto the problem area. Continue until the problem area is no longer visible.
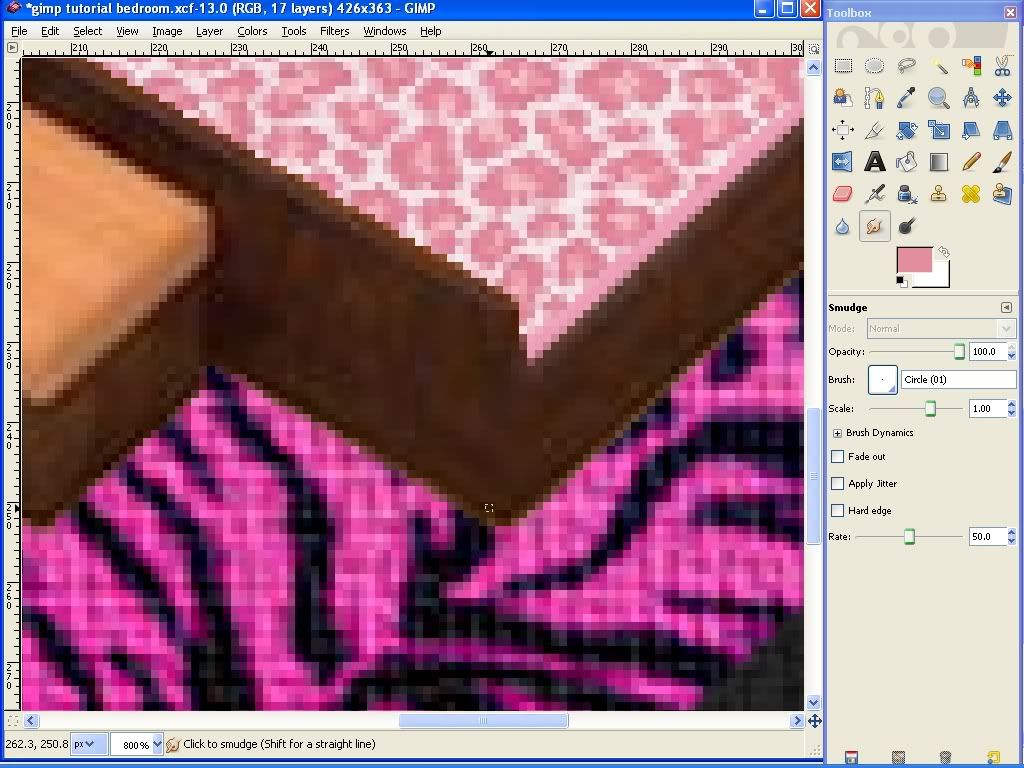
Smudge is very useful for helping to make round edges appear more round or helping edges that appear to "stand out" when they shouldn't. Use either of these tools to correct the edges of any other problem areas that you see.
Now I will create a wallpaper. I want to use hot pink and black and have them fade into each other. To get the effect I want, I need to create this as a separate image and use it as a pattern. Use the Measure Tool to measure the height of the wall. The measurement shows at the bottom of the window, where the layer name is. It is approximately 80 pixels.

I'll create an image 90 pixels high (to make sure I have it covered) and however wide I need for my pattern to repeat. Because I want hot pink and black, I will set my foreground and background colors to these. Just click on the color square to change to the color/s you want. Choose the Blend Tool from the tool box. Click the gradient color square and change the setting to the one you want to use. Click and drag on your new image. The gradient will go in the direction you drag.
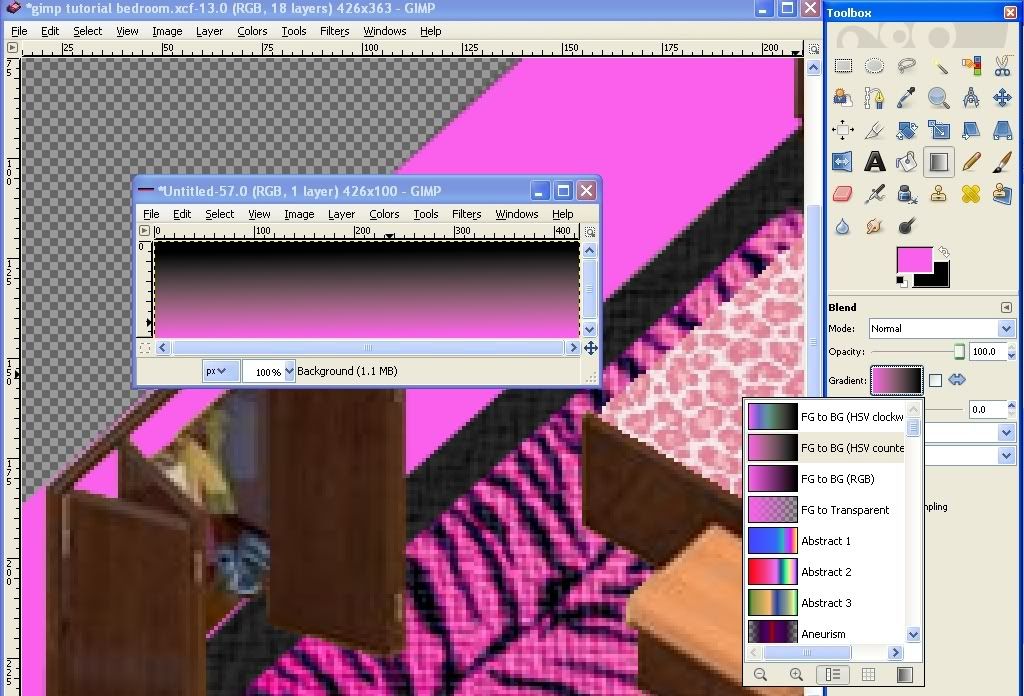
You may need to do this a few times to get it the way you want it. I will be using a top to bottom gradient. When you have the gradient you want, copy it to the clipboard and use the bucket fill tool to fill your wall with the pattern. Remember to save your work.


 Previous Topic
 Index
Index