Lesson 3: Breaking Down a RoomThe first thing I do before beginning to change a room is to separate it out. We will begin with the floor. Again, zoom in and using your free selection tool, start in one corner where you can see the floor and wall junction and begin selecting. When you "run into" a piece of furniture or other object, just let the tool draw the line where the edge of the floor should be.
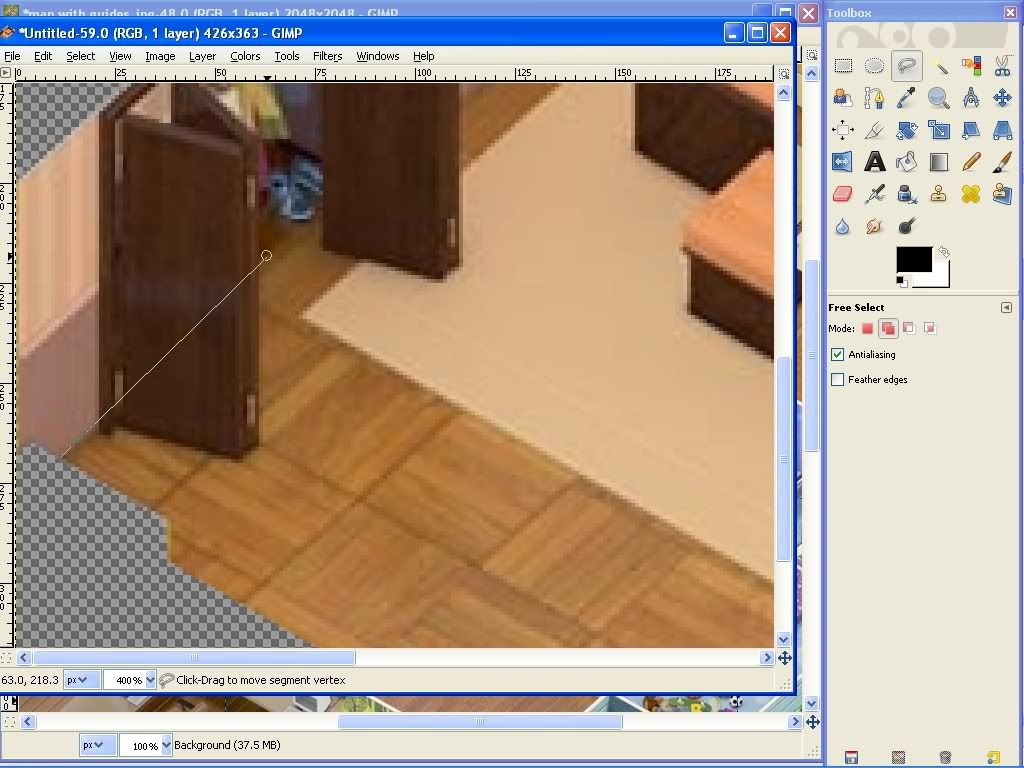
When you reach the edge of the image and the transparency, you don't have to be careful selecting because the transparent section is already invisible and will not show when copied. When you have the floor selected, use Edit -> Copy.
Now we will create a new layer named "Floor." Use Layer -> New layer. GIMP will automatically set the layer size to the same as the image size. When the new layer is created, if you hover your mouse outside of the image (on the toolbox) you will notice the text at the bottom of your window has changed. You will see the name of the current layer you are on (Floor) and the size of that layer in memory.
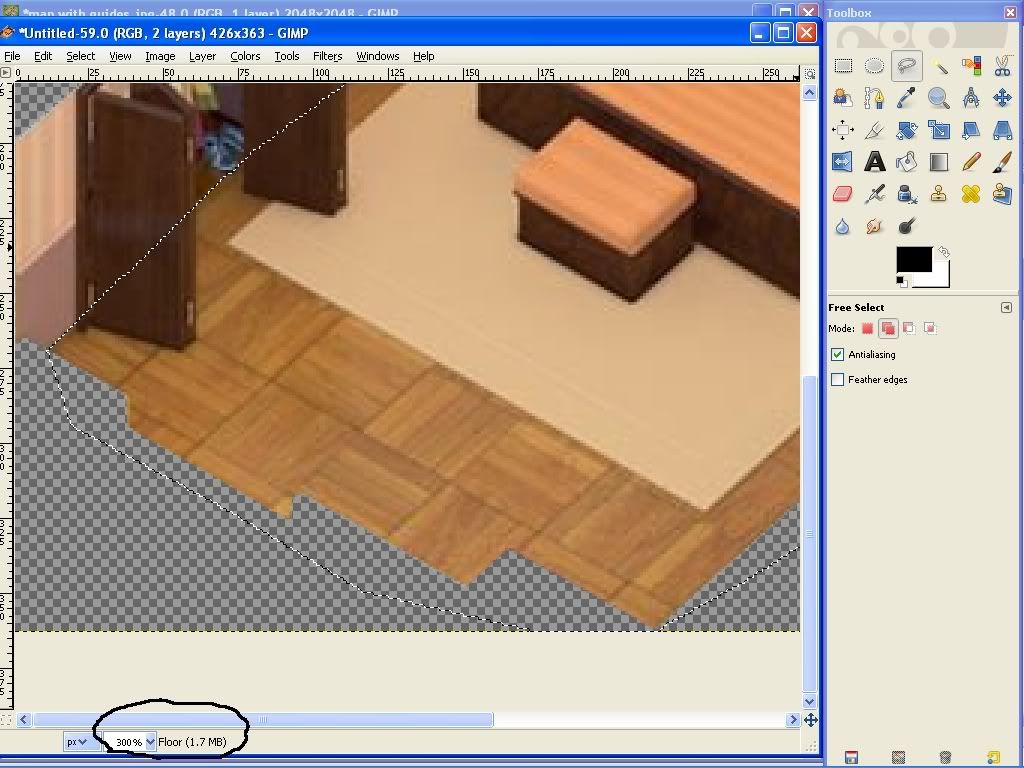
This is very important. Any edits you make will always be made on the current layer and ONLY on the current layer, even if it is not visible. Use Edit ->Paste to paste our newly selected floor area onto our new floor layer. Be careful not to move this new selection. Before we anchor it down into place, we are going to paint it a solid color so that we can see it easily later.
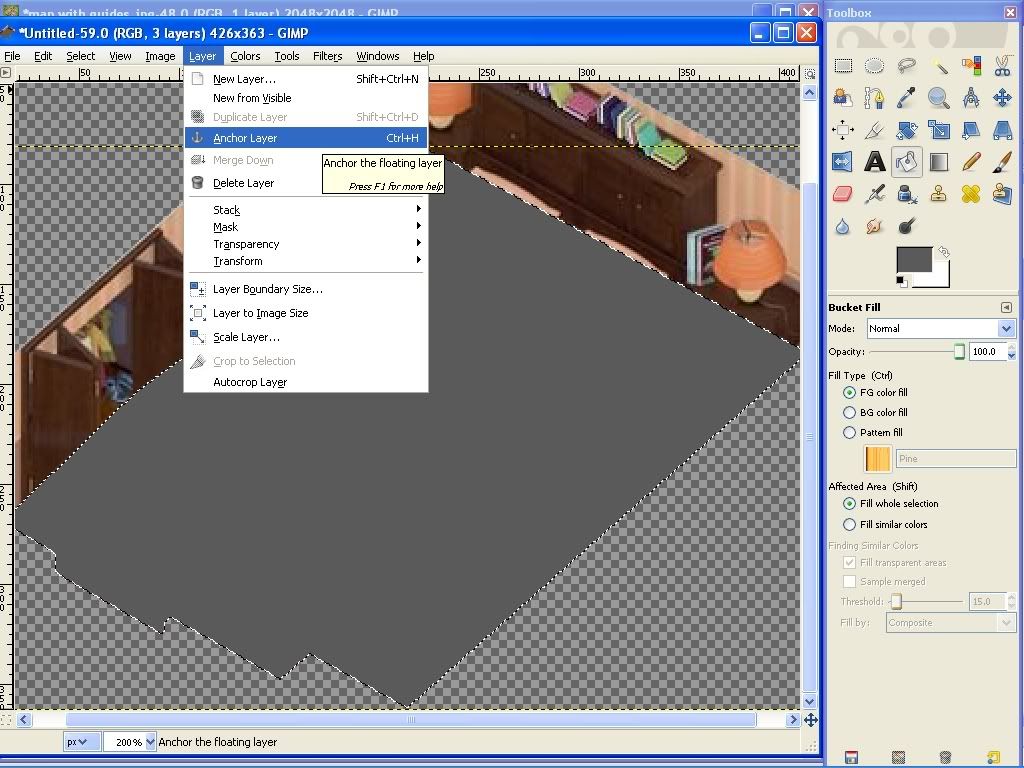
Click the Bucket Fill Tool in your toolbox and change the Affected Area to "Fill whole selection." Click on the foreground color square and choose the color for your floor (you will change this later, but go ahead and choose something close to what you want for the room.) My daughter wants hot pink and black with animal prints so I am choosing a charcoal gray for now.
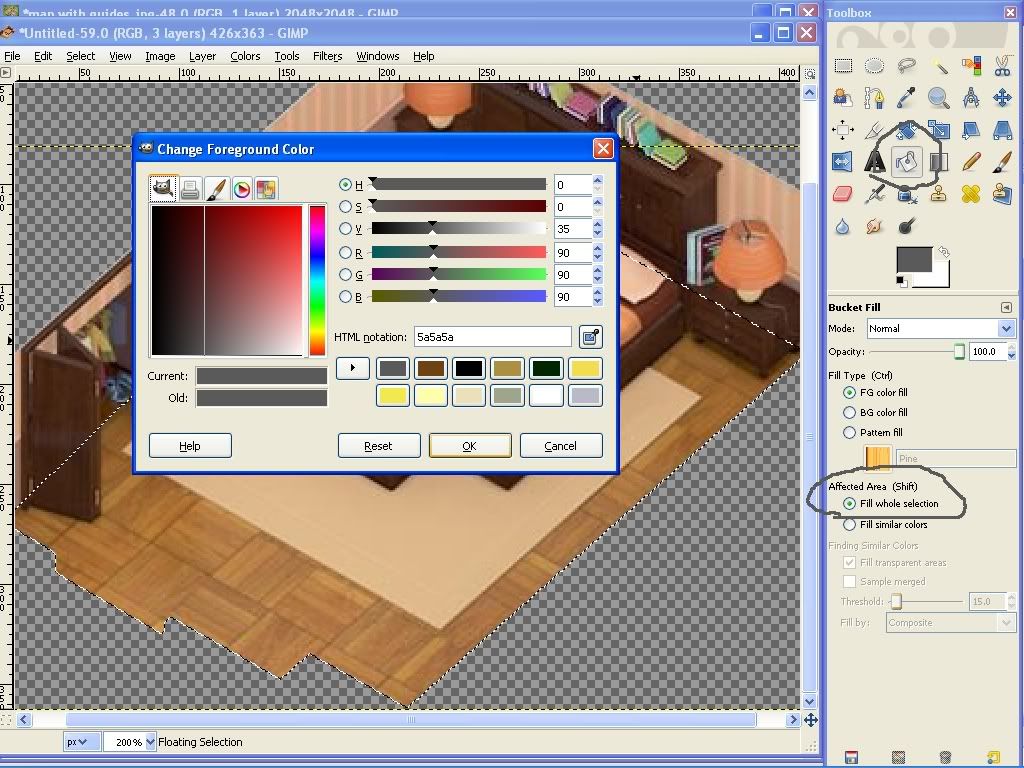
Click somewhere inside the marching ants. You should see your new solid color floor. Now, we will anchor the floor down into place on its layer. Simply click when you have the anchor icon or use Layer -> Anchor Layer. Remember to save your work.
The floor is in our way for the moment, so we will move it below the background layer so that we can't see it. To do this, use Layer -> Stack -> Lower Layer. Notice that you still see the name "Floor" at the bottom of the window. Even though you cannot see the layer, you are still "on" that layer and any changes you make will be made on that layer whether you see them or not. We don't want to change anything on this layer now, so we will select the background layer again. Use Layer -> Stack -> Select Top Layer and make sure that the bottom indicates you are on the "Background" or "Pasted Layer."
Now we will separate the walls. Repeat the procedure for the floor, except select the walls this time and create a new layer named "Walls." Again, after pasting the copy of the walls onto your new walls layer, we want to color it before we anchor it down. Choose a color similar to one you will use for the room, but remember you will edit it to perfection later. Anchor the layer into place, then lower it as before to get it out of our way. Don't forget to save your work.
Again, be sure you have returned to the Background or Pasted Layer. It is time to begin selecting the furniture and other items in the room. I will start with the rug, but you can start on any object you like. I prefer to work from the bottom and go up because items that are "underneath" do not have to be so specific. For the rug, again you will use your imagination to draw the edges where it goes underneath the bed and closet. Allow the free select tool to draw the lines straight for you. Use Edit -> Copy, create new "rug" layer, then Edit -> Paste and bucket fill the rug before anchoring it down.
Continue in this manner for all items in the room, except don't color the other objects. I will explain how to do the closet in a bit more detail. First, go around the entire outside edge of the closet, as you did with the other objects. You will notice that your selection now includes areas of wall. We don't want those to go with the closet so we need to remove them. On your toolbox, change the Free Select Tool's options so that it is set to Subtract from the current selection.
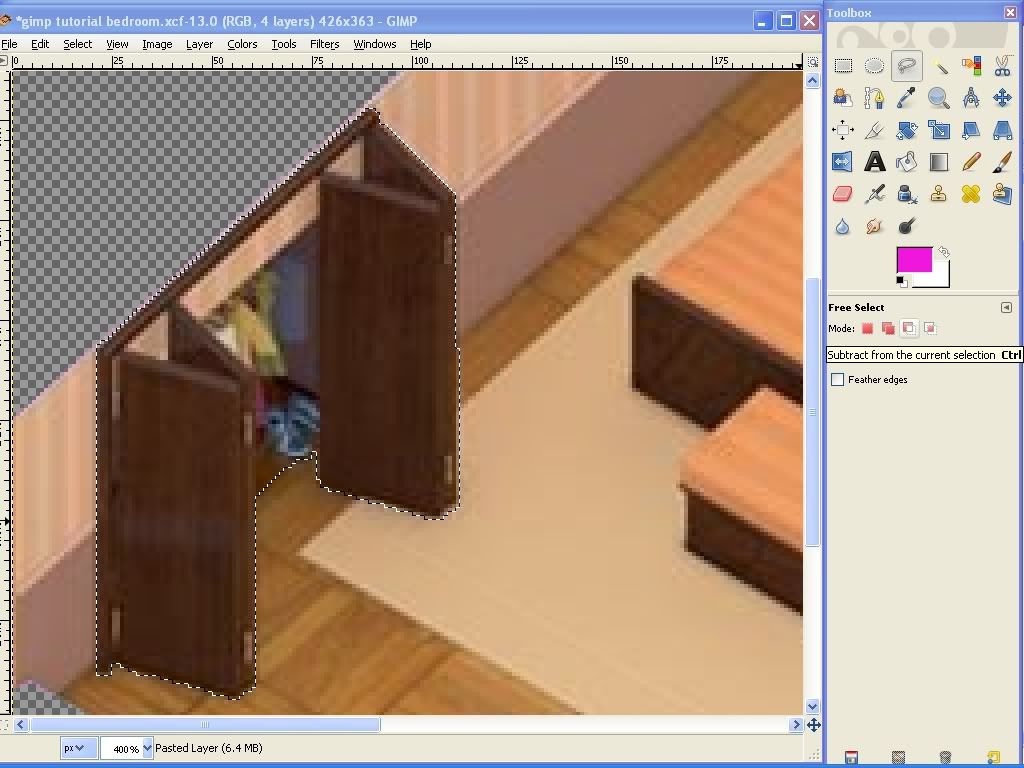
What that means is that the next thing we select will be removed or "cut out" from what we have selected now. Your cursor should now have a minus sign next to the free select icon to indicate this setting is on. Once you have that setting chosen, go carefully around the areas of wall (there are 3.)
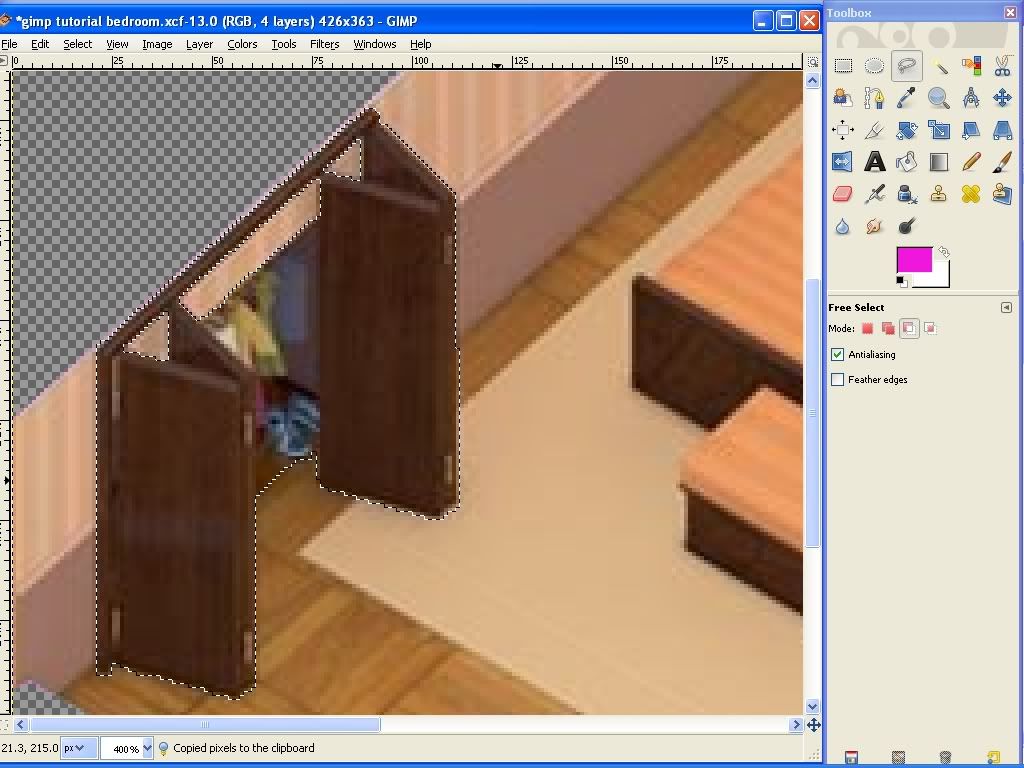
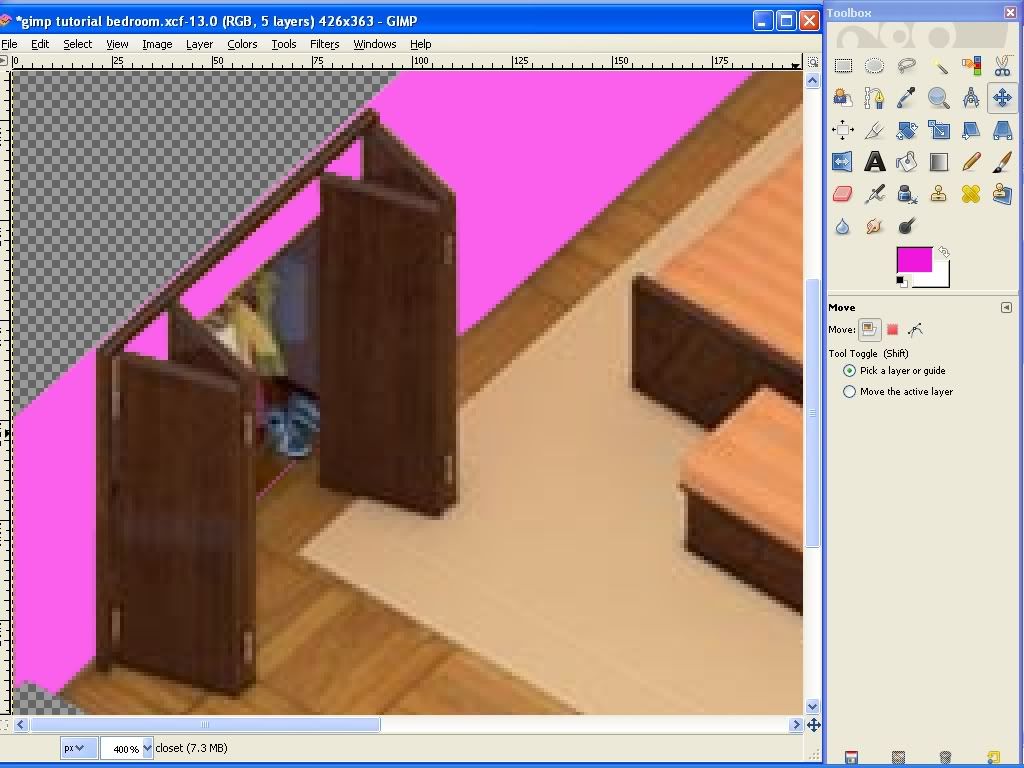
Again, use copy and create a new "closet" layer to paste the closet on. If I raise my colored wall layer, you can see why removing those areas was important. (See screenshot)
Once you have isolated every item (each nightstand, the bedframe, closet, and bed bench, comforter and pillows) you are ready to move the Background or Pasted Layer to the bottom. Use Layer -> Stack -> Layer to bottom to do this. Use the Layer -> Stack commands to adjust the positions of your layers so that you have an image similar to the one in this screenshot.
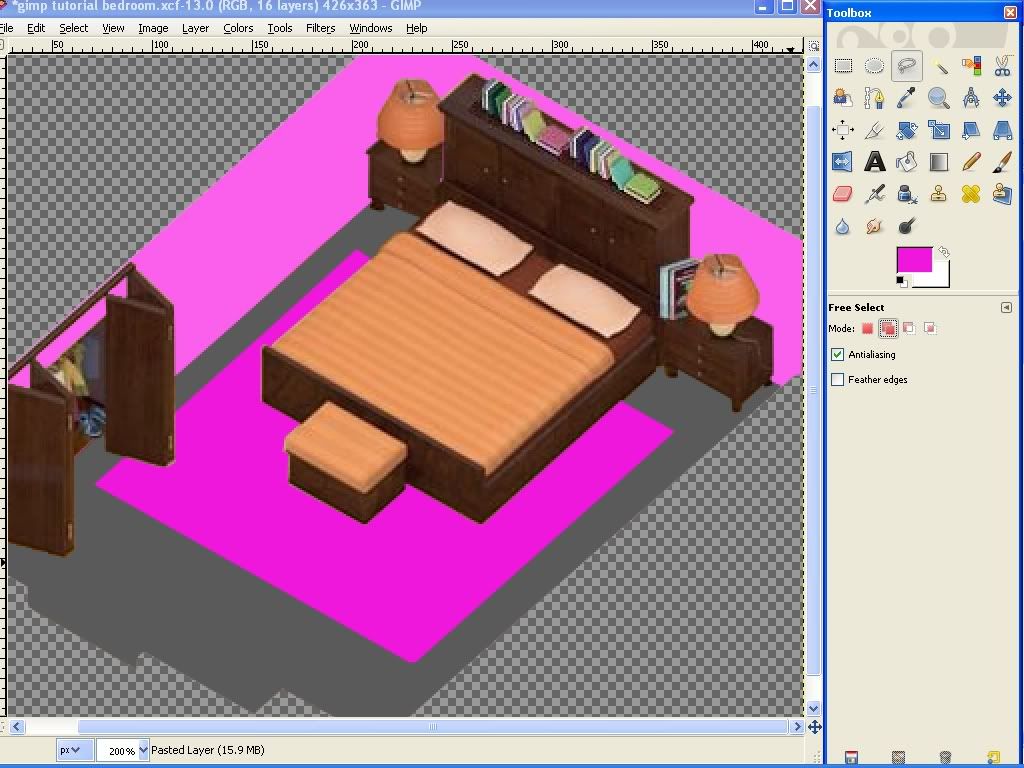
You want to see the furniture and closet on your wall, floor and rug. Remember to save your work. You are now ready to begin recoloring.


 Previous Topic
 Index
Index